How to Install
Manual Installation
Introduction
Rivesti tiles Rivesti are very easy to install. However, they require some essential care for you to obtain the perfect finish that we planned when making them. Follow the instructions in this manual. For any questions, please contact the Rivesti Customer Service Center by phone 11 4380 7766 or by WhatsApp 11 96776 7766. We will be happy to help. On the other hand, do not follow these instructions for installing and cleaning the inserts. Rivesti implies loss of product warranty. Visit our website and watch the insert installation videos Rivesti, at the address www.rivesti.com.br.
1. Plan the installation of Rivesti inserts
Analyze the spaces where the inserts will be installed Rivesti and determine where to start the installation. Favor the most visible parts of the room to receive the entire boards, leaving cutouts for areas with less visibility. If installing over a sink, for example, start installing the entire tile over the pediment and leave the cutout at the highest part. In a bathroom, start from the top down as the floor is likely to drop. Consider hiding the cutouts behind doors. The important thing is to get a nice look at the end of the installation. Plan how to get this.
2. Prepare the surface where the Rivesti inserts will be installed
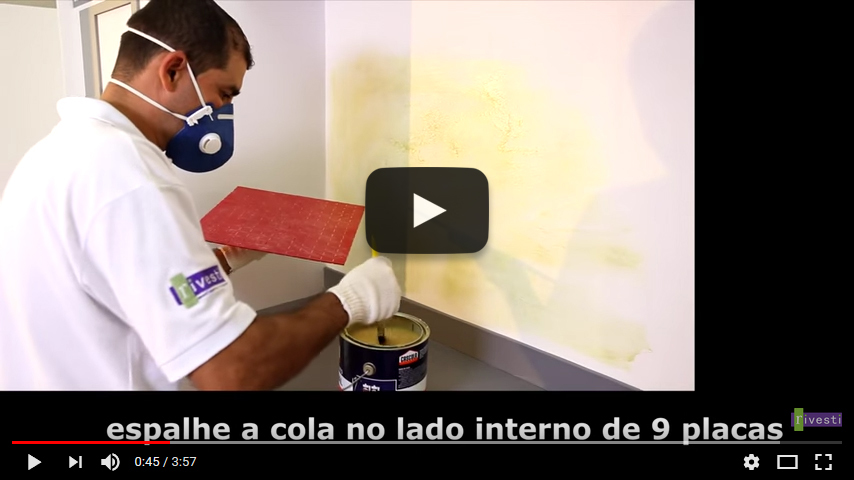
The surface must be cured, flat, straightened, free of cracks, dry, free of grease and dust. To install the inserts Rivesti with contact glue directly on thin plaster, make sure that no materials are crumbling (crumbling). If the surface is very porous, or if you run your hand over the surface, particles are loosened, it is recommended to apply one coat of primer or two coats of contact glue. If there are irregularities or grooves greater than 2mm on the surface, as is the case with some textures, even the surface with the application of white cement. For insert installation Rivesti on pre-existing coverings (fig. 1), such as tiles or ceramics, make sure that the covering to be covered has no cracks, hollow parts, moisture or grease. Thoroughly clean the old coating with a cloth containing alcohol or degreaser before gluing the inserts together.
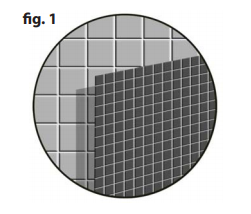
3. Spread the contact glue on the surface and on the Rivesti insert plates
With a brush, apply the contact glue 1m² of the surface to be coated (fig. 2).
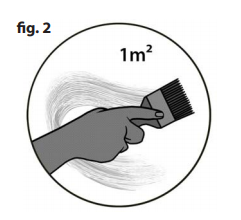
Then, with the same brush, spread the glue on the back of 9 tablets of inserts Rivesti (Fig. 3).
It is important that the entire surface of the board receives glue, but be careful that the glue does not reach the front of the inserts, crossing the gaps. If this happens, after the piece is attached to the surface, wipe off the excess glue with a soft cloth soaked in turpentine. Wait 15 to 20 minutes for the contact glue to activate (10 to 15 minutes if it is very hot) before bonding the plates to the surface. However, always observe the time indicated by the contact glue manufacturer. THE Rivesti indicates the use of Cascola contact glue (a 2.8 kg gallon installs about 7m² of inserts). Read the manufacturer's instructions on the contact glue package and follow all of them, including and especially those dealing with the use of PPE.
4. Glue the Rivesti inserts
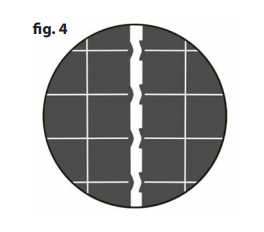
Each tablet plate Rivesti (regardless of the model) has an exclusive fitting system to facilitate installation (fig. 4). Note that the notches are different on each side of the board so that the boards are installed in the same direction.
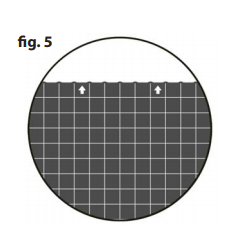
The side notches maintain the exact spacing between the inserts when the plates are joined. In order not to lose the way in which the plates fit, follow the indicative arrows on the back of each plate (fig. 5) and keep all the arrows pointing in the same direction.
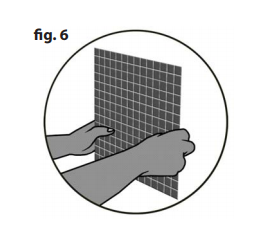
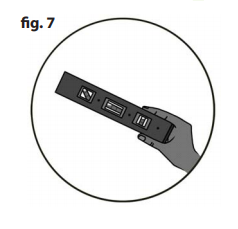
Align the first plate (fig. 6) with the help of a level (fig. 7).
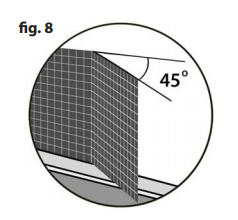
In this step, consider the square of the wall and make adjustments to the plates when the wall is out of square. To check the square, before applying the contact glue, hold a plate with your hand at the starting point of the installation and fit other plates below or to the side. Release the previous plate and fit the next one until you check the entire length. If the wall is out of square, the plates will not fit together or you may see unwanted spaces between the plate and the reference base. This difference must be compensated with adjustments on the first board. Properly adjusting and leveling the first tile is extremely important, as the first tile will define the alignment of the others until the end of the installation. Always fit the following boards at a 45-degree angle in relation to the already installed board (fig. 8) and make sure all the board slots are firmly in contact.
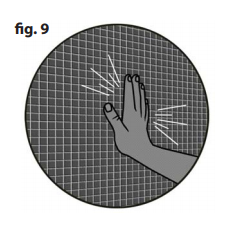
If any board becomes dislodged, even slightly, remove with the help of a spatula and glue again. After installing 1 m² of inserts, and after making sure that all the plates are properly seated, tap the installed plates with the palm of your hand (fig. 9), going from the center of each one towards the edges. You can also use a rubber mallet to hit the boards. This will make the boards adhere well to the surface. Install the inserts Rivesti in steps of a maximum of 9 cards at a time.
5. Adjust the size of the Rivesti insert plate
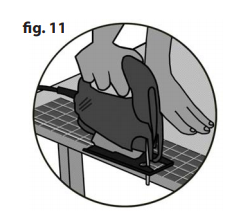
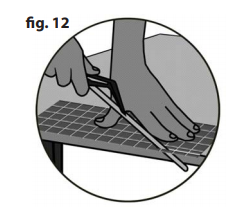
When necessary, cut the insert plate Rivesti to adjust it to the exact measure of the space where it will be installed. Measure the surface with a measuring tape and transfer this measurement to the plate, demarcating the cut area. To cut the board, use either a circular saw (fig. 10), or a jigsaw (fig. 11) or even a mini hand saw bow if you are going to cut a few boards (fig. 12).

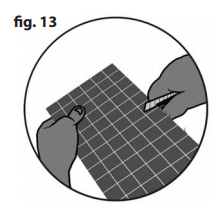
If you use a circular saw, use a well-worn saw blade or blade suitable for cutting MDF or acrylic and cut the plate by pulling the tool back towards you, and never push the tool forward to make the cut. If cutting with a crimp, use a metal cutting blade and support the entire plate well to avoid vibrations. Push the tool forward in continuous stroke and maintain enough speed to make the cut, preventing the blade from unnecessarily passing over the same point. After cutting the board, remove any burrs with a knife (fig. 13).
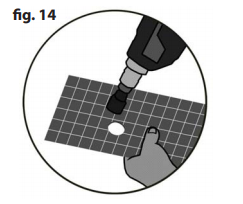
When installation requires circular cuts in the plate, use a hole saw with the desired diameter adapted to a drill (fig. 14).
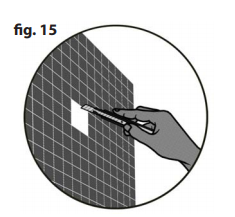
Square openings in the middle of the plate can be made simply by cutting the joint between the inserts with a stylus (fig. 15), when possible.
Or drilling four holes in the corners of the demarcated area with a drill of sufficient diameter for the passage of a choke blade. Then cut with the optician from one hole to another. Make sure beforehand that the finish of the part to be installed over the inserts will cover the cut. Take great care when using power and sharp tools and use the protective equipment indicated by the manufacturer. Read the tools' instructions for use and research how to use them safely. If you are unfamiliar with power tools or do not consider yourself able to use them, be cautious and opt for hand tools to avoid accidents. Even so, be very careful when handling.
6. Grout the Rivesti inserts
The grouting of the inserts Rivesti it can be done right after the end of the gluing of the boards. Before starting the grouting, clean all the plates with a soft cloth dampened with water, removing any impurities. If there is still glue residue on the surface of the plate, wipe it off with a soft cloth soaked in turpentine. Spread the grout over the slabs with an EVA grout applicator and fill, without leaving gaps, all the spaces between the tablets (fig. 16).

Never use a grout applicator of any other type. Rigid spatulas, whether made of wood, metal or silicone, among other types, severely damage the inserts, causing permanent scratches on the surface of the plates. Apply the grout to a small area at a time, no larger than the area of 3 or 4 plates, and immediately clean the grouted area with a soft foam pad moistened with water (fig. 17).

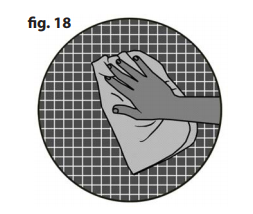
Use a bucket of water to constantly wash the foam block and change the water frequently. If you notice any failure in the grouting, apply the grout specifically to that area and repeat the steps indicated for cleaning. On very cold and/or very humid days, grout an area of 4 to 7 plates and see if cleaning takes place easily. Reduce the amount of grouted boards if cleaning is difficult. The delay in cleaning the acrylic grout will make it stick to the tablets, which may make its removal unfeasible. With no guarantee of success, it is possible to try to remove the residue that may have been left for a long time on the plates. To do this, wet the area several times with a solution of water and detergent and clean in a circular motion with a foam pad until you can remove the grout residue. When the entire area has been grouted, clean the pads with a soft cloth slightly moistened with water (fig. 18). After 60 minutes, remove any remaining layer of dust from the grout with a soft, dry cloth. THE Rivesti indicates the use of Acrylic Grout Fortaleza (1kg grouts about 20 plates). Read the instructions for use on the packaging, paying special attention to the drying time.
7. Daily cleaning of Rivesti tablets
Rivesti tiles Rivesti are highly resistant to all commonly used household cleaning products. No cleaning product will stain or change the shine of the pads, as long as it is not abrasive (sandy). the tablets Rivesti they have exclusive non-stick, antifungal and antibacterial technology, which prevents dirt from settling on its surface and the development of fungi and bacteria. Therefore, for everyday cleaning, you only need a soft cloth with water, or the non-abrasive cleaning product of your choice. Never use abrasive sponges when cleaning the pads, as they will damage the surface. And never pass over sharp instruments.
8. Warranty conditions for Rivesti inserts
Rivesti tiles Rivesti are produced under strict quality control. Rest assured that you have purchased a product of the highest technology and of international quality. To get the most out of your insert warranty Rivesti, Nonetheless, it is essential to strictly follow the instructions for installing the inserts and carry out a careful application in the environment. The correct handling, transport, storage, use and maintenance of the inserts must also be ensured. Any doubt, contact the Rivesti Customer Service Center, always ready to help: telephone 11 4380 7766 or WhatsApp 11 96776 7766, from Monday to Saturday, from 9 am to 7 pm.
If you notice any manufacturing defect in the inserts Rivesti, immediately contact the store where you made the purchase or the Rivesti Customer Service Center. According to the Consumer Protection Code, you have 90 (ninety) days from the date of purchase to call for warranty service. If there is any visible irregularity in the inserts Rivesti, please contact us before installation so that we can check the product. Installing the inserts means accepting the product in its condition. Rivesti is not responsible for the costs of installation materials and services or any other costs related directly or indirectly to the installation. The application of the inserts in environments not specified by the Rivesti is the sole responsibility of the consumer and, in addition to implying loss of warranty, exempts the Rivesti of any consequences.
The product warranty excludes problems arising from misuse or poor installation, inadequate cleaning or irregular handling, as well as problems related to incorrect transport or storage after purchase and natural wear and tear from use.
WARRANTY!
Installation and correct use of inserts Rivesti are your best guarantee. Fully follow the instructions contained in this manual.
ATTENTION!
Rivesti tiles Rivesti should only be applied indoors away from fire. Do not install inserts in non-recommended locations.
REMEMBER IF!
As well as the 33 colors from the Rivesti does not accept returns of products purchased in store. Purchases made outside the establishment can be returned within 7 (seven) days..
DOUBTS?
Any doubts about the product must be resolved before installing the inserts. Use the Rivesti Customer Service Center.
9. Excluding reasons for the warranty of Rivesti inserts
Product warranty Rivesti automatically ceases when there are any of the irregularities mentioned below, without excluding other circumstances that evidence the inadequate handling, transport, storage, use and maintenance of the products or their poor installation:
a) use of processes or materials other than those indicated in this manual, such as the use of mortar or other types of adhesive materials, use of unspecified grout, use of rigid spatulas, removal of excess grout or cleaning with the use of abrasive or using excessive force;
b) installation on a surface not properly prepared or on an inadequate surface for pasting the tablets;
c) installation less than 10cm from the stove flame, considering the range of the flame with the stove in use;
d) installation in outdoor environments directly exposed to the sun;
e) failure to observe the existing fittings on the plates and/or the arrow indicating the direction during installation;
f ) planning error in the execution of the installation;
g) product installation error arising from non-observance of any rules contained in this manual;
h) consumer bad faith.
THE RIVESTI WARRANTY IS RESTRICTED ONLY TO POSSIBLE DEFECTS AND DEFECTS PRESENTED BY THE PRODUCT, SUCH AS DIFFERENCES IN COLOR, SIZE, RISKS AND DAMAGE TO THE BOARDS OBLIGATORY OBSERVED BEFORE INSTALLATION. THE INSTALLATION OF THE PRODUCT WITH ANY APPARENT DEFECT IMPLIES ITS INCREDIBLE ACCEPTANCE. RIVESTI IS NOT RESPONSIBLE IN ANY EVENT FOR AN ERROR IN THE INSTALLATION PROCEDURE, WHY THE CONSUMER SHOULD READ CAREFULLY THE INSTALLATION GUIDE AND WATCH THE INSTALLATION VIDEO AVAILABLE ON THE SITE WWW.RIVESTI.COM.BR, THE CONSUMER SHOULD CONTACT THE RIVESTI CUSTOMER SERVICE CENTER WHENEVER THERE IS ANY DOUBT.

Download the installation guide
Installation Tips Installation


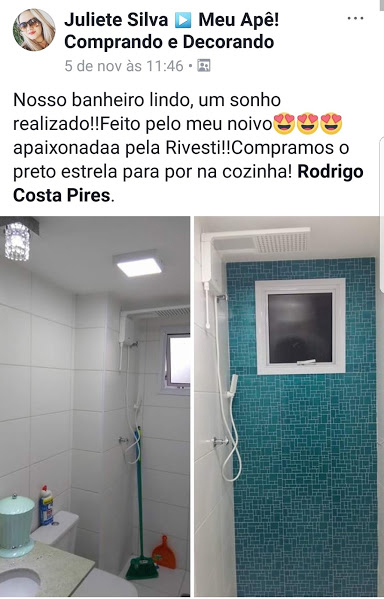
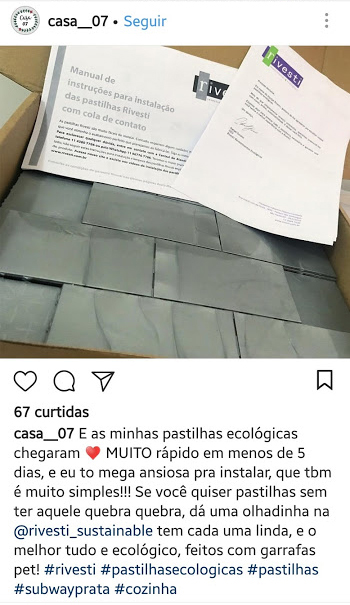
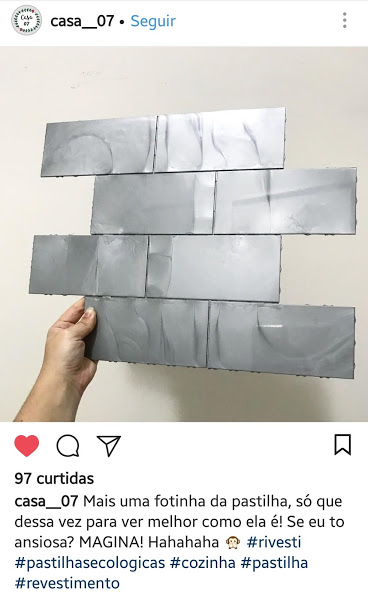
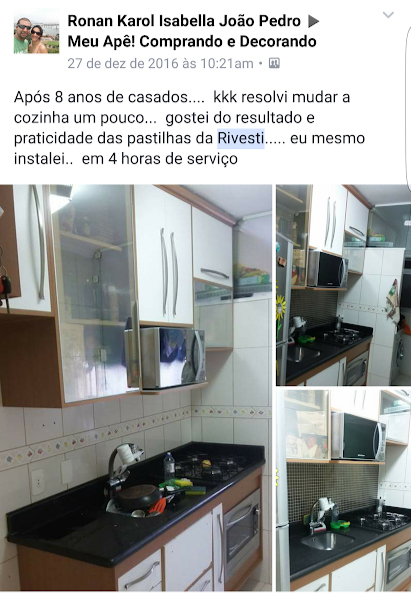
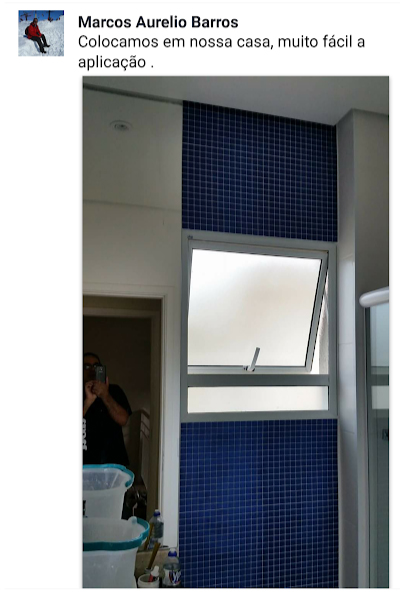
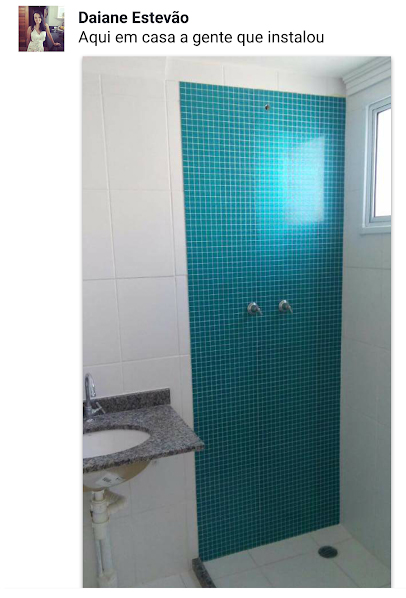
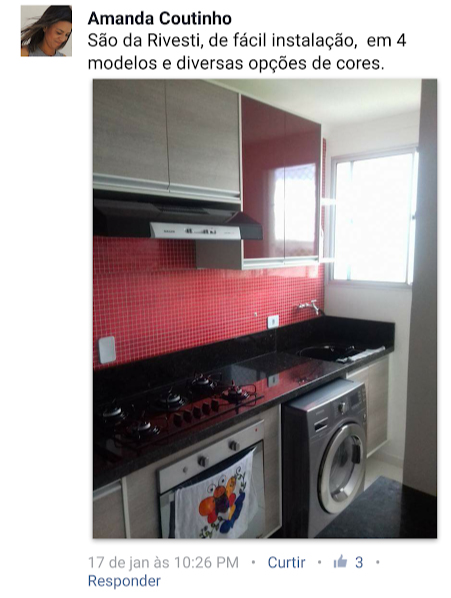
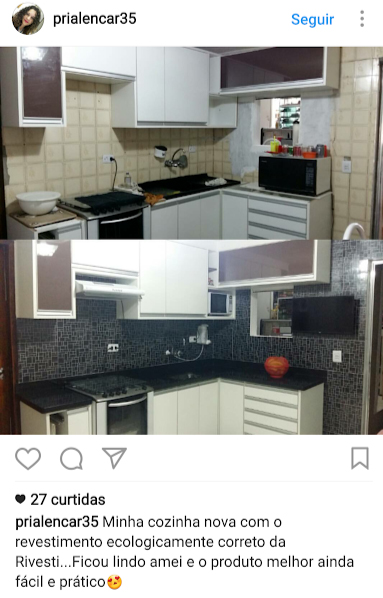
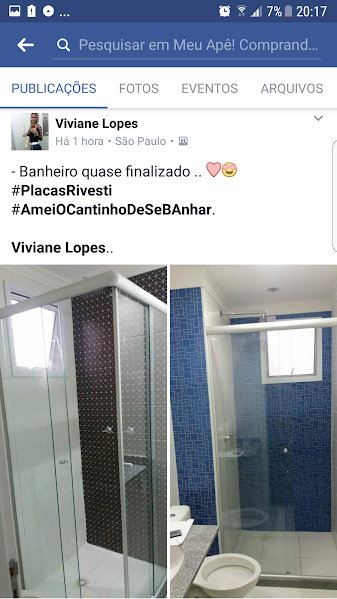
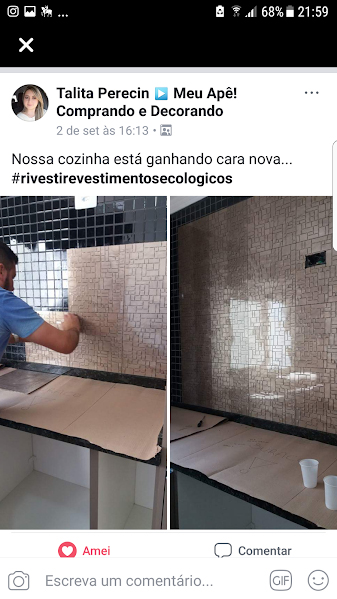
Depositions
Depositions


Our collections
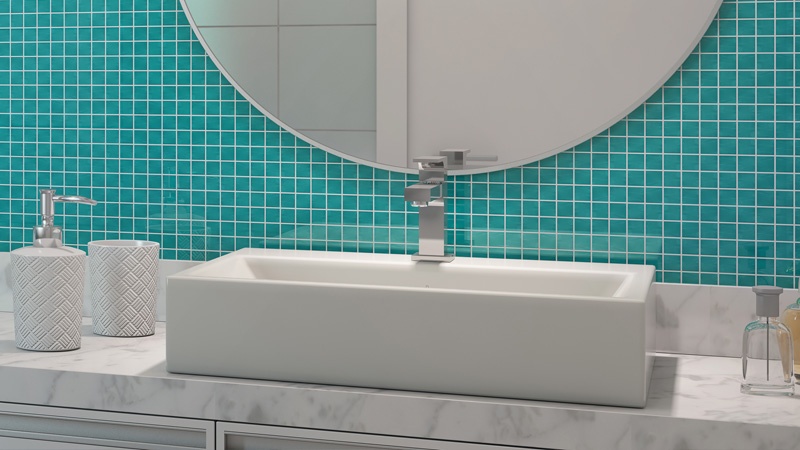
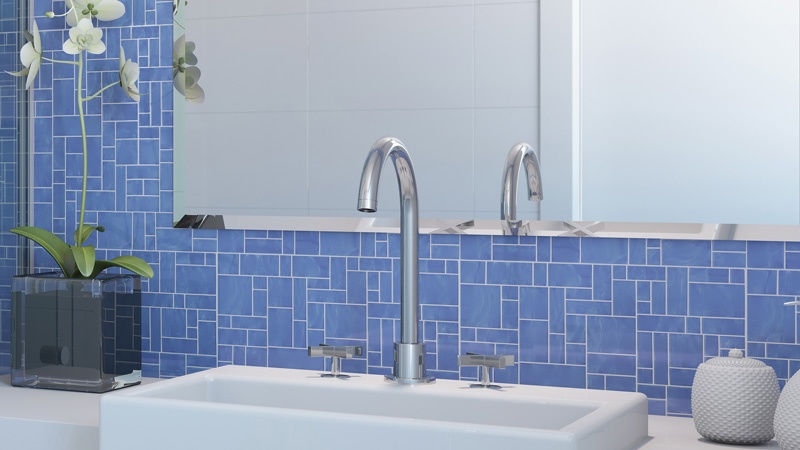
tiles square
Classic, elegant, minimalist.
Square is error-free. (Can't go wrong with Square)
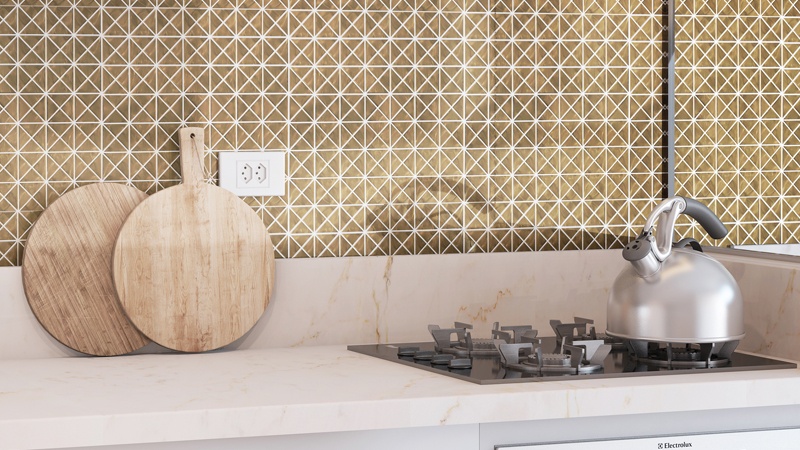
tiles Triangular
Modern, stylish, daring.
Triangle creates depth.
tiles Geometric
Exact, diverse, playful.
Geometric makes an impression.
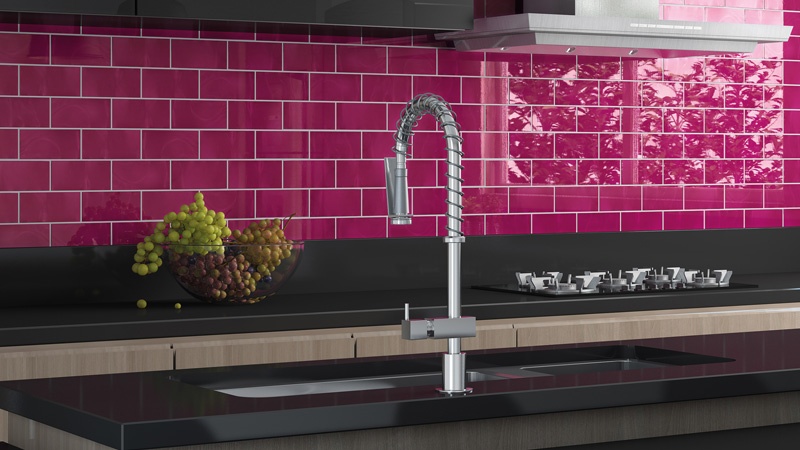
tiles Subway
Familiar, cozy, harmonious.
Subway is all about history.